With LambdaTest, you can test your website’s cross-browser compatibility in real time. From the most recent to the oldest versions of Chrome, Firefox, Safari, Edge, Internet Explorer, Opera, and Yandex, you may choose from a wide range of updated Android and iOS mobile devices. This live-interactive testing will assist you in developing error-free software by allowing you to assess the intended functionality of items on your website in real-time as an end user. Check that your website is compatible with all browsers and devices. Create your test cases and then execute them with LambdaTest’s Real Time Testing.
Launch VM
Step 1: Sign in to your LambdaTest account. Select “Real Time Test” from the left menu.
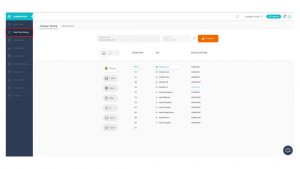
Step 2: Choose your preferred test setting. To execute a test session, you can choose from a number of main browsers and their various versions. You may also select from a variety of Desktop, Android, or iOS devices to test their various operating systems and screen resolutions for analysing a website’s RWD (Responsive Web Design) while displaying on different screens.
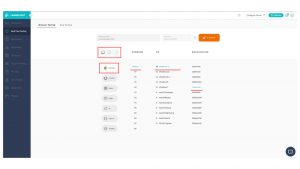
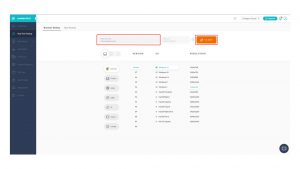
Step 3: To launch your selected VM, enter the URL to test and click the Start Icon.
Capturing Screenshots & Annotate Them
Step 1: When the desired VM is launched and operational, you will see controller buttons on the left side of the screen. To generate a snapshot of the visible section of the screen you are currently on inside the VM, click the button with the Bug icon.
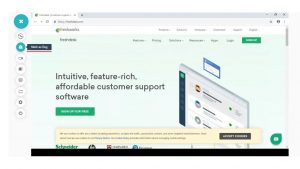
Step 2: When you click the Bug icon, an image editor will appear with several options to assist you in highlighting and annotating your UI observation before sharing the screenshot.
- You may create several shapes to highlight the bug, such as squares, rectangles, and circles, or even underline it.
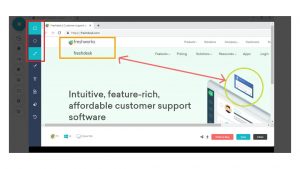
- You may also use the pencil icon to scribble the bug and the text button to add text to annotate the screenshot.
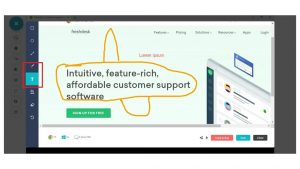
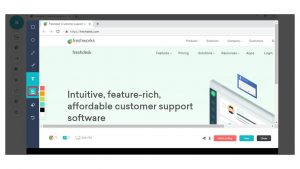
- Choose from a range of colours to make the bug stand out.
- The eraser icon shown below will assist you in removing any unnecessary highlights.
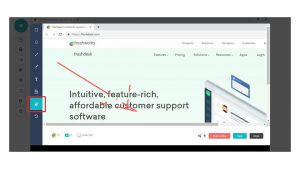
- If you have too much to delete, the last button at the bottom will accomplish it for you. It will assist you in erasing any undesired changes to the snapshot.
Save & Share The Highlighted Screenshot
Step 1: When you’re finished marking the problem, save the screenshot to your LambdaTest’s gallery. Using the buttons shown below, you may download it to an external system or share it with a colleague.
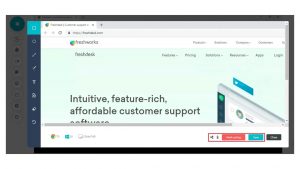
Step 2: The first button from the left, as seen below, will allow you to send a bug report straight to your teammate’s email address. As you press the ‘SEND’ button, you may write a comment to help your understand your UI issue. You may also copy the shareable link and distribute it immediately outside of your VM session.
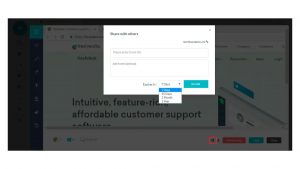
Step 3: By clicking the arrow pointing downwards, you may save the highlighted screenshot to your external machine.
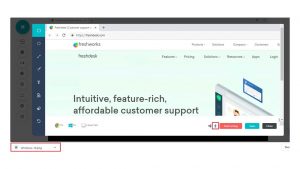
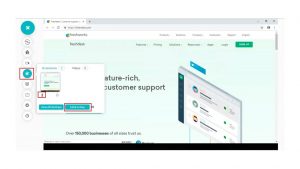
Step 4: By hitting the ‘Save’ option, you can also save the snapshot to your LambdaTest’s gallery. This closes the current editing console and saves your work in the gallery. You may retrieve the saved screenshot from the gallery button marked below on the left side of your running VM. The download button, as well as a bug button, may be found in the gallery.
Mark As Bug
By hitting the ‘Save’ option, you can also save the snapshot to your LambdaTest’s gallery. This closes the current editing console and saves your work in the gallery. You may retrieve the saved screenshot from the gallery button marked below on the left side of your running VM. The download button, as well as a bug button, may be found in the gallery.
We are continually expanding our platform’s integration. If you use a different tool, please share it with us! Simply send us a note through chat, and we’ll bring it here on our platform for you.
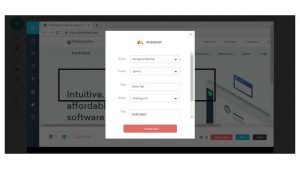
When you click the “Mark as Bug” button, an integration-specific form appears. Fill up the blanks with the information you need. For example, if you have the LambdaTest + Trello connectors installed, you may fill in the fields shown below.
- You can choose which board the card should be placed on.
- You can select the list for that specific card.
- You may assign the bug to a colleague by filling out the ‘Assignee’ form.
- You may also include a description to better explain the reason for the problem or the card.
Record Video Of A Running Test Session
Step 1: Once inside a VM, from the controller buttons on the left, select the below-highlighted button for screen recording. This will allow you to record video of your current test session within the VM.
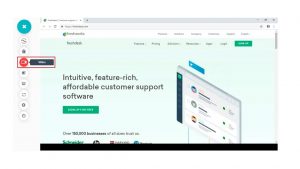
Step 2: When you press the button, a timer begins to count down the recording time. You may stop the video recording by clicking the same button.
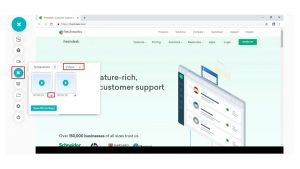
Step 3: Your recorded video may be found in the gallery, as seen below. By clicking on the downward pointing arrow, you can download the movie to your external system.
Change Screen Resolution Inside Your Running VM
Step 1: From the controller buttons on the left, select the resolution button.
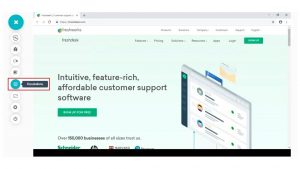
Step 2: Try out your website on various screen resolutions. When you’re through selecting, click the ‘Apply’ button.
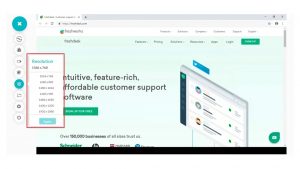
Step 3: As you hit apply.
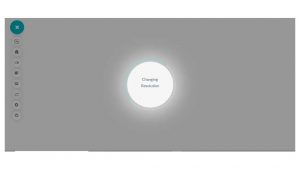
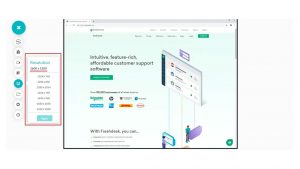
Step 4: Welcome to your new screen resolution.
Rotate The Screen When Testing For Mobile Devices
For Android: It’s simple; there’s a button on the device’s right side panel that you can use to change the orientation.
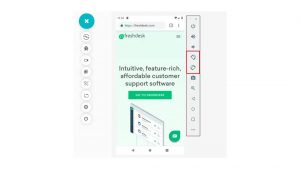
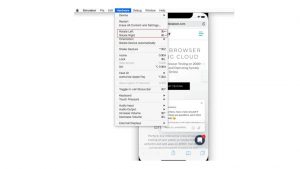
For iOS devices: Our iOS emulators operate on MacOS computers with an automatically concealed top menu. To rotate the device, move the mouse pointer to the top of the VM screen until the top navigation menu appears. A Hardware tab would be found in the navigation menu. (Be careful to choose the simulator app in the VM by clicking on it.) Click on it to open the hardware menu, which contains the rotate device buttons.
Create A Project & Project Version
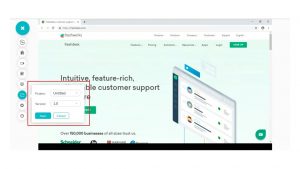
By selecting the folder button from the controller buttons on the left, you may create a project. You can mention many versions inside the same project. Once you’ve finished stating the project and its version, click the ‘Save’ button.
Change Time Zone Inside VM & Set Idle Time Out
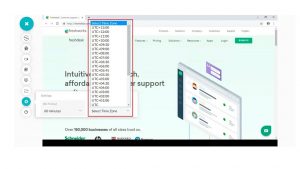
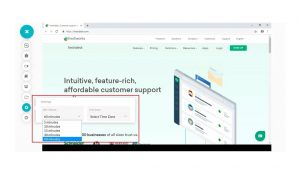
By selecting settings from the controller buttons on the left, you may alter the idle time out. From the drop down menu, you may choose a time value and a time zone.
Step 1: Change the time zone of your running VM.
Step 2: Change the idle time out for your VM.
How To Change GeoLocation Inside The Cloud Machine?
You may now check your website’s browser compatibility from several geolocations. We’ve included a simple drop down beneath the settings button where you can pick a nation and press apply; the cloud machine will then be directed to a specific IP address based on your choices.
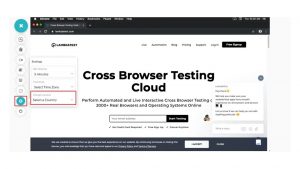
To Test From Multiple Countries In Single Test Session
If you want to do cross browser testing with several geolocations for a webpage in a single test session, be sure to reload the browser given by LambdaTest cloud servers after selecting the new nation to test from.
End The Running Session
Step 1: By selecting the power button at the bottom, you may terminate the running session. When you hover your cursor over the button, it will say “End Session”.
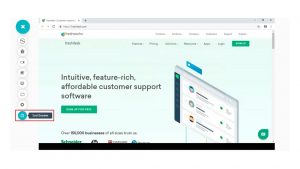
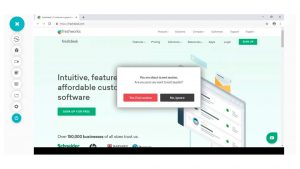
Step 2: When you press the power button, you will get a confirmation pop-up asking if you want to end the session. If you are certain that you want to terminate the current session, click the “Yes, End Session” button indicated in red.
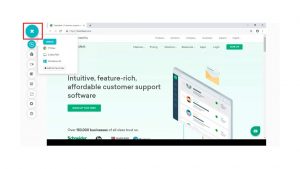
Fact: By collapsing the panel using the ‘X’ button on the top of the controller buttons, you may move the controller buttons to any place of your screen. This will turn the controller panel into a hamburger menu, which you can move and extend wherever on the screen.
That’s all you need to know about using LambdaTest to do real-time cross-browser compatibility testing. We are continually introducing new connectors to our testing environment in order to boost your productivity. If you have any more queries, please do not hesitate to contact us. Our specialists are always accessible on chat to assist you with any issues you may be experiencing with our product.




Add comment