The DOM stands for Document Object Model and is one of the most exciting aspects of web development. Many of my colleagues and I started learning front-end development because of DOM manipulation. I still remember my first project was “turning a light bulb on and off” from W3Schools.
In this blog, we will take a closer look at the DOM and explore different methods to manipulate it. This is a core and fundamental concept that you need to understand before working with JavaScript on web pages. One thing I want to clarify here is that the DOM and JavaScript are two separate technologies, so please keep that in mind.
What is the Browser Object Model (BOM)?
The Browser Object Model (BOM) contains the methods and properties that allow JavaScript to interact with the browser.
In fact, the BOM is responsible for enabling JavaScript to communicate with the browser. Some of the most important objects in the BOM include Navigator, Location, and History.
What is the Document Object Model (DOM)?
On the other hand, the DOM represents the structure of the HTML page and breaks it down into a logical tree. The DOM contains all the HTML elements on the web page. By using JavaScript, we can select and manipulate parts of the DOM, allowing us to create interactive web pages instead of static ones.
The DOM Tree Structure
The Document Object Model (DOM) tree is a way of representing the structure of an HTML document as a hierarchy of elements, or nodes. The browser builds this tree by reading the HTML code and turning it into a structured model.
Proper nesting of elements, where inner elements are correctly placed within outer ones, is crucial for ensuring that the HTML document is valid. This accurate nesting allows the browser to interpret the document correctly and build the DOM tree effectively.
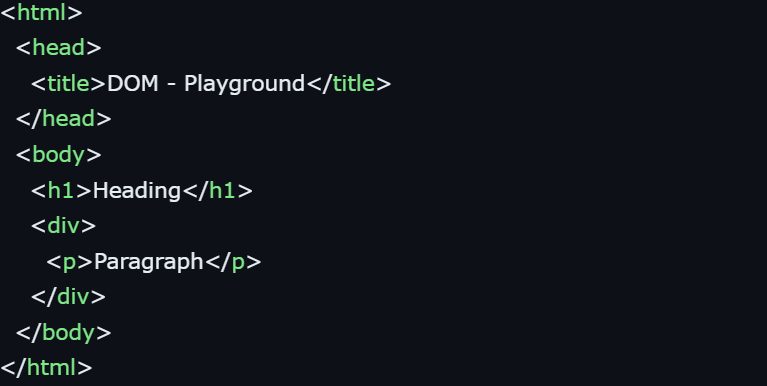
For example, let’s look at this HTML document and how it would be represented as a DOM tree:
And here is how we can convert it to a tree:
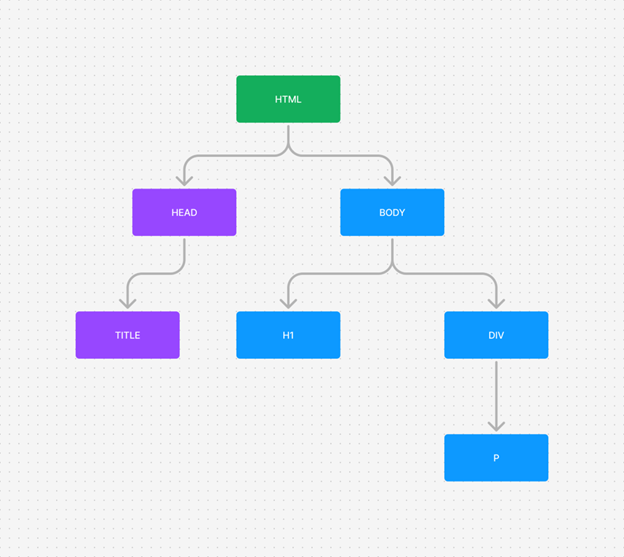
As illustrated in the infographic above, HTML is the root of the tree structure. In this hierarchy, the next levels consist of HEAD and BODY, which are children of HTML. The HEAD element has a single child: TITLE. On the other hand, the BODY element contains two children: H1 and DIV, with DIV further having one child: P.
This example demonstrates a relatively simple document structure. However, for more complex websites, the DOM tree can become significantly more intricate. This tree and various other properties form the Document Object Model (DOM) of a web page.
Note: The DOM tree includes all the HTML elements on a web page.
Relationship between HTML, JavaScript, and the DOM
To manipulate elements on a web page using JavaScript, the first step is to select the desired HTML element in the DOM. For example, to change the text content of a heading with JavaScript, you must first select that element in the DOM. Once selected, you can modify it accordingly.
There are several methods available for selecting HTML elements, but the most commonly used ones are:
- getElementById()
- querySelector()
- querySelectorAll()
In this blog, we will explore how each of these methods works and how to use them for effective DOM manipulation.
Basics of DOM Traversing
Before selecting HTML elements using specific methods, let’s explore how to find elements by traversing the DOM. We can traverse the DOM using the document object, which contains all the HTML elements on the page.
By navigating through the DOM structure, we can locate and manipulate specific elements without directly using methods like getElementById() or querySelector().
While this technique is optional, understanding DOM traversal can help you build a solid foundation. Even for a simple HTML snippet, there are multiple ways to traverse the DOM. Let’s see how it works:
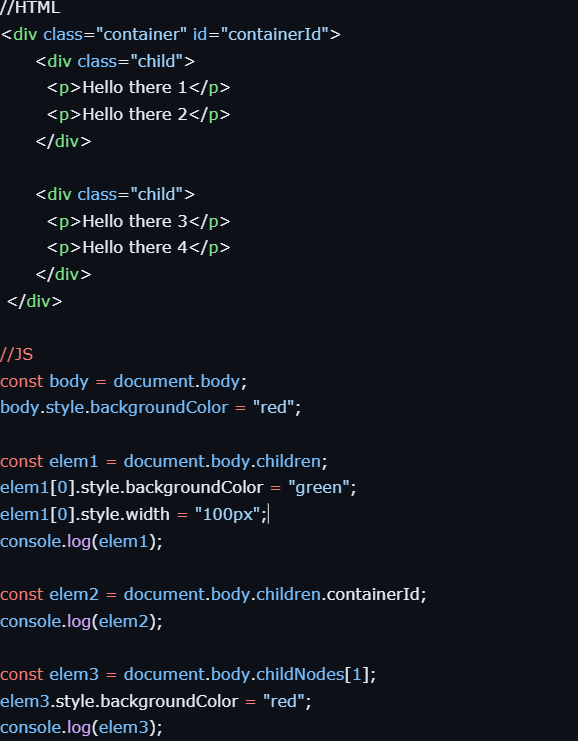
In the code above, as you can see, we can select HTML elements by traversing the DOM without using any specific DOM methods.
We start by selecting the body element from the document object, which contains every element on the web page. After selecting the body, we can use properties like children and childNodes to access specific elements.
Here are some additional properties you can use for DOM traversal:
- firstChild
- lastChild
- nextElementSibling
- nextSibling
- ownerDocument
- parentElement
- parentNode
- previousElementSibling
- previousSibling
Try experimenting with these properties to better understand how DOM traversal works.
Common DOM Manipulation Methods
In addition to DOM traversal, there are several methods available to directly select HTML elements from the DOM. After selecting elements using these methods, we can modify them, as demonstrated in previous examples. In this section, we will learn how to select elements by their ID, class name, tag name, and CSS selectors.
Instead of manually traversing the DOM step by step, as we did in the previous section, we will now use built-in methods that can search the DOM and return the HTML elements that match the given criteria.
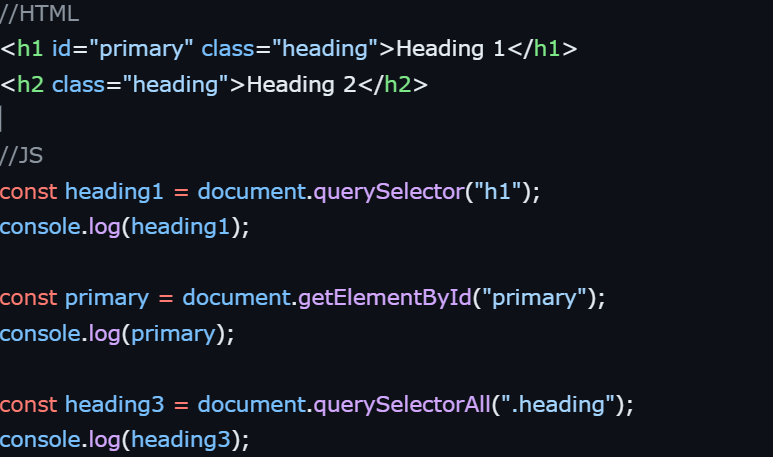
Selecting Elements by ID
To select an HTML element by its ID, we use the getElementById() method. This method requires the ID name as an argument and will return a single element that matches the specified ID.
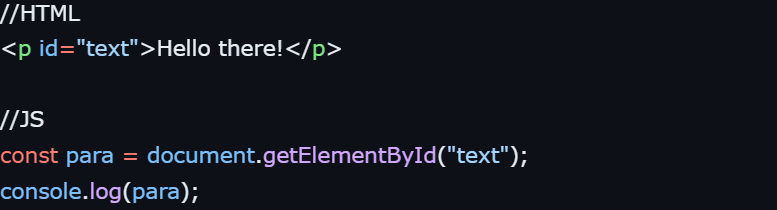
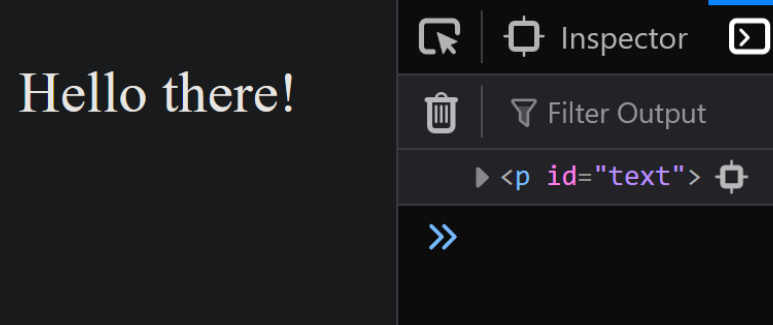
In the example above, I selected the <p> element by passing “text” as the ID to the getElementById() method. After selecting the element, you can modify it as needed.
However, it’s important to note that IDs should be unique within a document. If multiple elements share the same ID (which is not recommended), the getElementById() method will only return the first element it encounters with that ID.
To avoid potential issues, always ensure IDs are unique within your codebase.
Selecting Elements by tag name
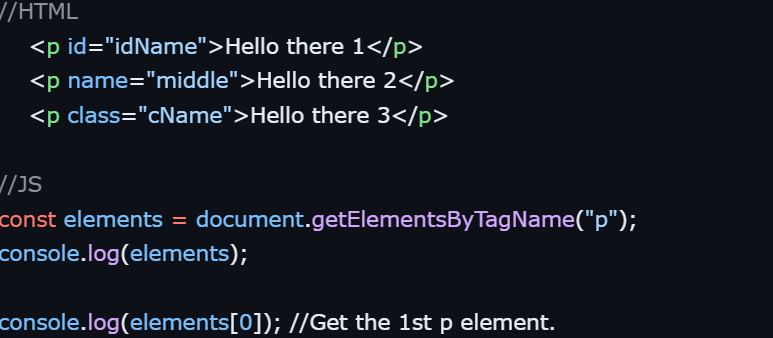
To select elements by their tag name, we use the getElementsByTagName() method. This method takes a tag name as an argument and returns an array-like object called an HTMLCollection, which contains all elements with the specified tag.
Since there can be multiple elements with the same tag name, this method helps in retrieving all matching elements.
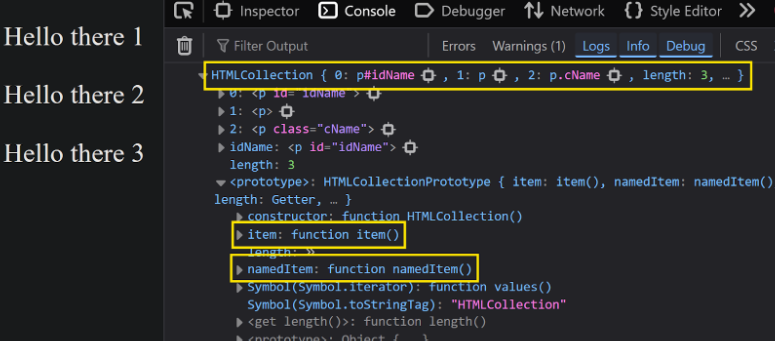
As you can see, getElementsByTagName() returns an HTMLCollection, which is similar to an array. Although it is not a true array, you can still access its items using an index or by using the item() and namedItem() methods to access individual elements.
item() Method
The item() method is used to access elements in the HTMLCollection by their index. This method accepts an integer index and returns the corresponding element.

namedItem() Method
The namedItem() method is used to select individual elements from the HTMLCollection, but it only works if the element has an ID or name attribute. You can pass either of these attributes as an argument to access the corresponding element.

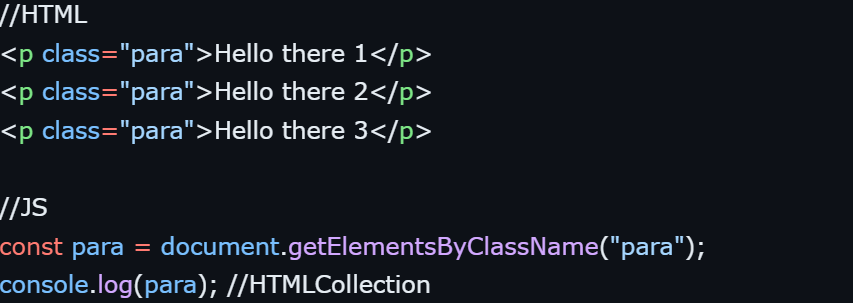
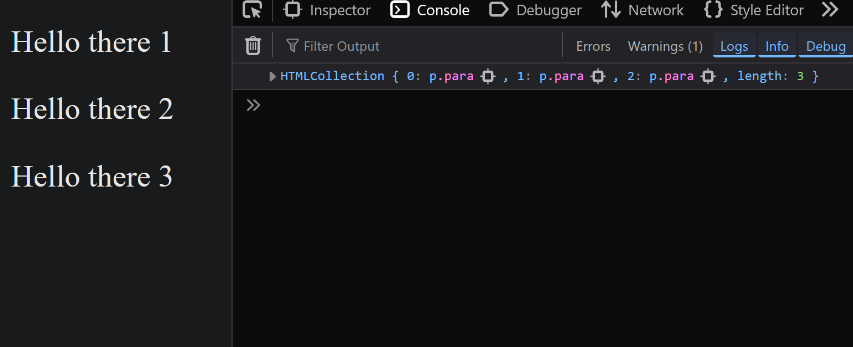
Selecting Elements by class name
We can also select HTML elements based on their class names using the getElementsByClassName() method.
This method accepts a class name (without a dot . prefix) and returns an HTMLCollection, similar to the getElementsByTagName() method.
Just like getElementsByTagName(), the getElementsByClassName() method returns an HTMLCollection, so we can use the item() method to access elements by their index. However, we cannot use the namedItem() method with getElementsByClassName().
This limitation is due to the specific purpose of getElementsByClassName(), which is to select elements based solely on their class attribute. Since it doesn’t consider id or name attributes, the namedItem() method is unavailable here.
Here’s how to access individual items using item():

This approach provides straightforward access to elements by class name and index, making it useful for targeting multiple elements with the same class.
Selecting Elements by CSS Selector
We can also select HTML elements similarly to how we target them in CSS using the querySelector() and querySelectorAll() methods. These methods allow us to use CSS selectors as arguments to select elements that match specific criteria.
querySelector()
The querySelector() method selects the first element that matches the specified CSS selector. This method accepts any valid CSS selector, including element names, classes, and IDs.
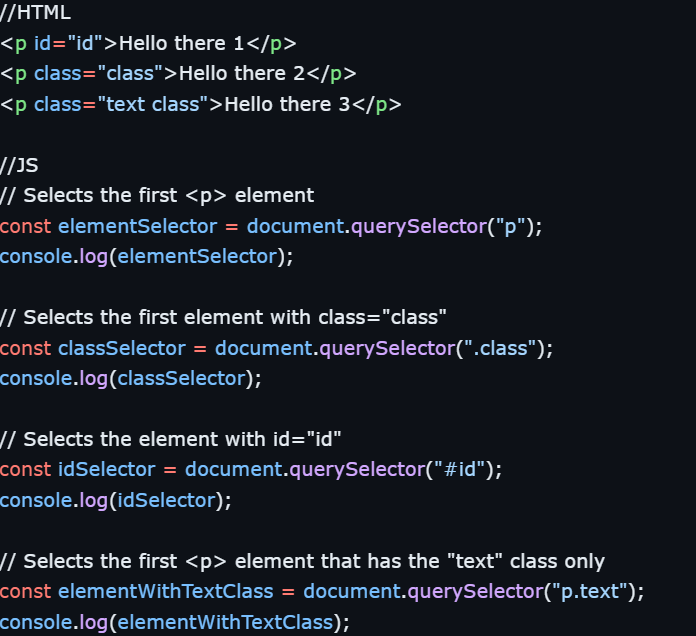
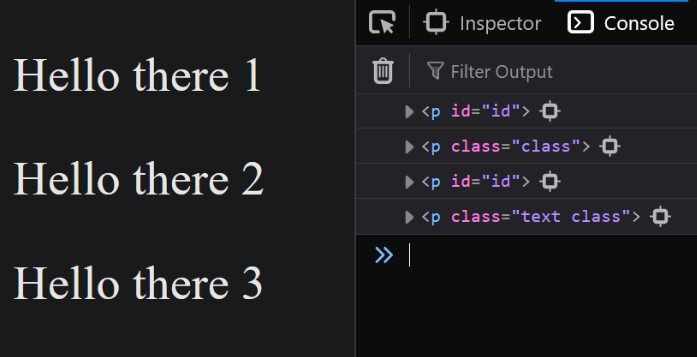
The querySelector() method provides a versatile way to select elements using complex selectors, similar to those used in CSS. This method is particularly useful when targeting the first occurrence of a specific element or class on a page.
querySelectorAll()
When we need to select multiple HTML elements rather than just the first match, we can use the querySelectorAll() method. This method accepts a valid CSS selector as an argument and returns a NodeList object containing all elements that match the specified selector.
We can access individual elements within this NodeList using either array indexing or the item() method.
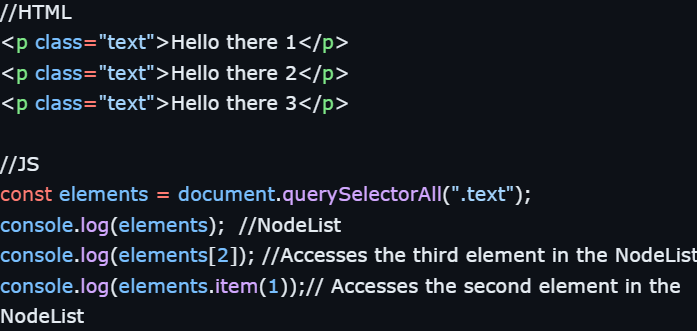
This approach allows you to select multiple elements and then work with each one individually. The NodeList returned is similar to an array, though it is not an actual array object, which means not all array methods are available.
However, methods like forEach() are compatible, allowing easy iteration over the selected elements.
Modifying DOM Elements
Once HTML elements are selected, various manipulations can be performed on them, such as modifying content, changing styles, handling classes, creating and removing elements, updating attributes, and attaching event listeners. Let’s explore these options one by one:
Changing Element Content
In JavaScript, you can change the content of HTML elements by using properties such as innerHTML, innerText, and textContent. Each property has unique behavior regarding how it handles HTML tags, whitespace, and special characters.
innerHTML
The innerHTML property allows you to set or retrieve the HTML content within an element. When you use innerHTML, the provided string is parsed as HTML, which means any tags within the string will be rendered as HTML elements.
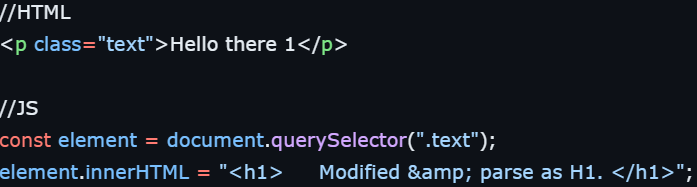
In this example, the <h1> tag is parsed and rendered as a heading element. The & entity is also converted to &.
innerText
The innerText property sets or retrieves the visible text content of an element. Unlike innerHTML, it does not interpret HTML tags, so any tags within the string are displayed as plain text rather than HTML elements.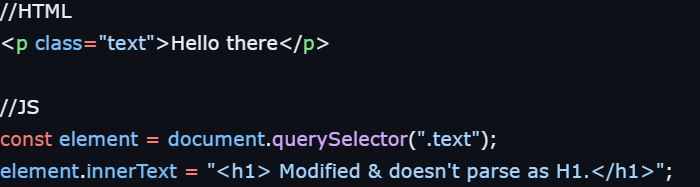
With innerText, the <h1> tag and & entity remain unparsed.
textContent
The textContent property retrieves or sets the text content of an element without parsing HTML. It preserves whitespace inside the string, though it trims any leading and trailing whitespace. HTML tags and entities are not parsed.
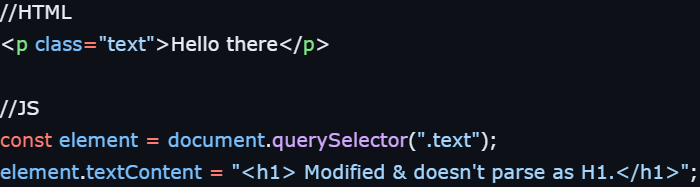
With innerText, the <h1> tag and & entity remain unparsed.
Event Listeners
Event listeners allow you to define custom behavior in response to user interactions, such as clicks, hover events, or keyboard inputs. Using addEventListener, you can attach multiple event handlers to an element for various types of events.
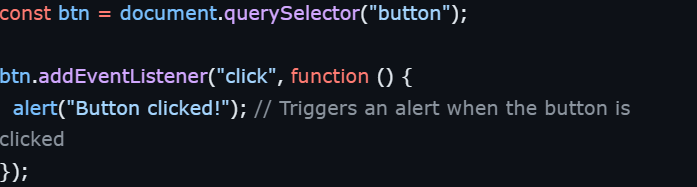
Here, clicking the button triggers a simple alert message. This approach can be expanded to create more complex, interactive behaviors.
Handling Classes
The classList property allows us to manipulate the classes of an HTML element by adding, removing, or toggling class names. This is particularly useful for styling changes and adding or removing CSS effects.
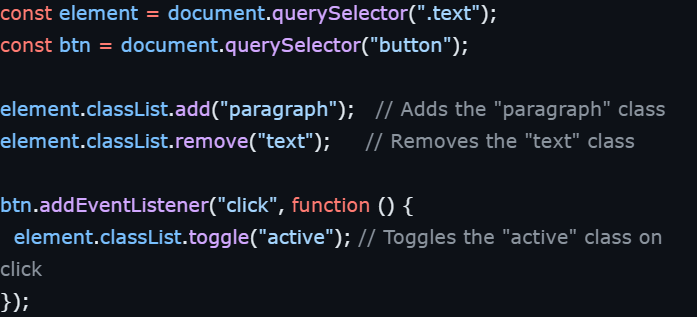
In this example, the “paragraph” class is added to the element, and the “text” class is removed. The button toggles the “active” class on the element each time it’s clicked.
Creating and Removing DOM Elements
You can dynamically add or remove elements from the DOM using JavaScript. This is helpful for creating or deleting content based on user actions.
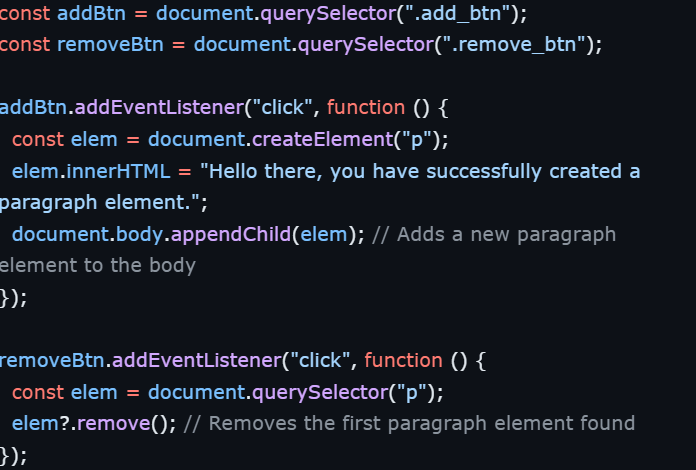
In this example, clicking “Add an element” creates a new <p> element, while “Remove an element” deletes the first <p> found.
Modifying Element Attributes
You can set or update HTML element attributes dynamically using JavaScript. This is especially useful for elements like links and images, where attributes like href or src may need to change based on user input.
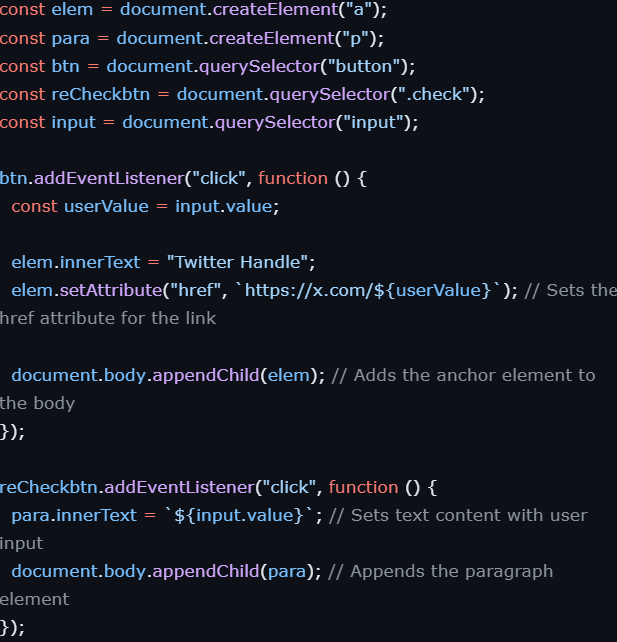
Here, the user enters a Twitter handle, and a link is created with the href attribute set to the Twitter URL.
Changing Styles
JavaScript allows you to directly modify the style property of HTML elements to apply CSS styles dynamically. This can be used to adjust colors, sizes, visibility, and other styling properties.
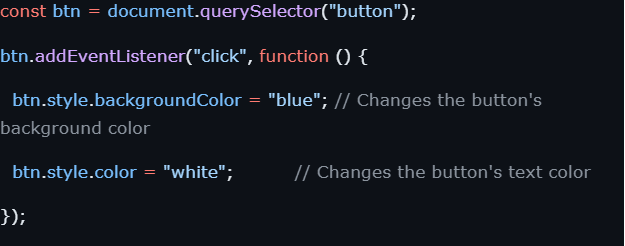
In this example, clicking the button changes its background color to blue and the text color to white.
Conclusion
In this blog, we covered key DOM manipulation techniques in JavaScript, like adding/removing classes, creating/deleting elements, updating attributes, and handling events. These skills are essential for making your web pages more interactive and user-friendly. With practice, you’ll be able to control and update the content and structure of your pages smoothly.